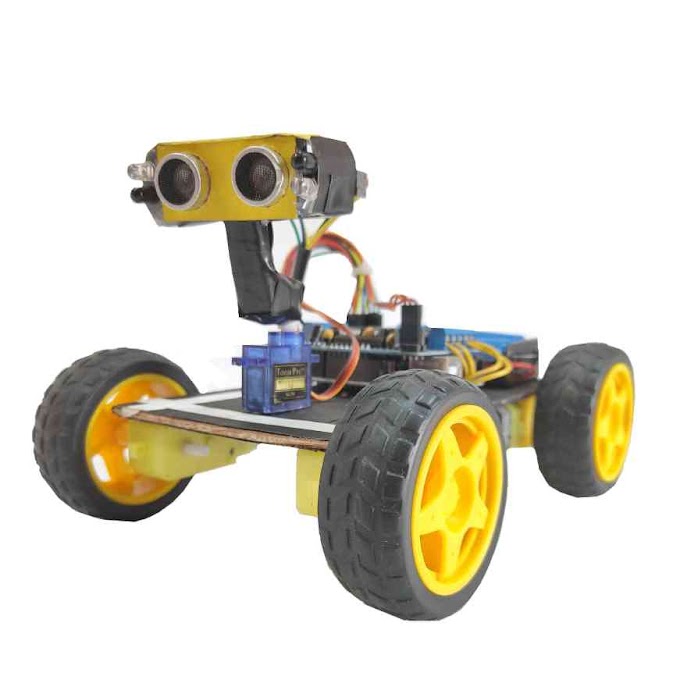
Components for master slave configuration of HC-05 -
The materials needed to pair two HC-05 Bluetooth Modules are: 2 HC-05 Bluetooth Modules, 5 Male to Female Jumper Wires, An Arduino Uno hooked up to the Arduino IDE, and if you want to test the connection you're going to need another Arduino, another set of jumper wires and a 5 volt power source.
HC-05 Master Slave Configuration -
First, label your modules, this might seem a little tedious but there's going to come a point where you step away from your project for a couple days and when you get back you're going to be really glad you took the time to do this. Now connect your Arduino in your computer and then run the Arduino IDE software to bring up a blank sketch. Check that your board and port settings are correct, and upload the blank sketch to your Arduino. We’re going to start with the module marked "Slave" The first thing you want to do is unplug the power source from the Arduino Uno and connect the slave module to the Arduino using the following configuration: The STATE pin doesn't need to be connected to anything, RX goes to RX, TX goes to TX, GND goes to Ground, 5v to 5v and the EN key can go to the 3.3 volt pin of the Arduino.

If you plug the battery source back into the Arduino again, you'll see the HC-05 bluetooth module become power on with the short rapid blinks, which is the standard pairing mode and the HC-05 bluetooth module is looking for another bluetooth module to pair with. To pair the bluetooth modules we need to configure them in AT Command Mode. AT Command mode is denoted by long, slow blinks. To power on the HC-05 module in AT Command mode you want to plug the power source into the Arduino while holding down the reset button on the HC-05 module. The long slow blinks indicate that we're in AT Command mode and we can begin to configure the modules for master and slave.
What is master and slave in HC-05?
Now open the Arduino IDE software and then enter into the Serial monitor. Be sure that the Baud rate is set to 38400 and both new line and carriage return are selected. We can now begin entering AT Commands. By default both modules will be set to slave and our goal here is to set one of them to master and then bind it to the slave module using the slave's address. Since we started with the slave module, all we really need to do here is get the address of this module to give to the other one. If you type AT into the top bar, at first you're going to get an error code, I'm not really sure why this happens, but if you type AT again you will get an OK.

To confirm that we dealing with a slave module you can type AT + ROLE? This asks the module for it's role.
- 0 is Slave.
- 1 is Master.
HC-05 master slave configuration with Arduino -
Since we have a zero here, we know that this module is configured to slave and all we need to do is get the address. If we type AT + ADDR? It will give us the address. Copy this address down into a notepad or another application and as you copy it change all the colons to commas. When you enter it back into the master module you're not going to want those colons there. This is all we need to do for the slave module so we can unplug this from the arduino and repeat the previous steps to get the master module plugged into the arduino and powered on into AT Command mode. Back in AT Command mode for the master module, we need to do 3 things: change the role of the module to master, change the connection mode of the module to only connect to one device by it's address, and attach the address of the slave module to the master module. If we type AT+ROLE? Into the command line we see it returns a 0 showing that by default it is set to slave. To set this to 1 or master, you type in AT + ROLE =1 you'll get an okay and you can confirm that this worked by typing AT + ROLE? Again and seeing that it is configured to 1. Next we want to check the connection mode by typing AT + CMODE? You’ll see it returns a 1. Connection mode 1 means that it will connect to any device within the vicinity. We want it to connect to only one device, and that's connection mode 0 so we want to type in AT + CMODE =0. We get an okay and we can just double checked that that worked by typing in AT + CMODE? Again and seeing that now it is configured to 0. Now that we've told the module to only connect to one device, we have to give it an address to connect to.

How do I pair two Bluetooth modules HC-05?
To do that we're going to type AT + BIND=, and then we're going to copy the address of the slave module from our notepad or other application and press enter you see we can get an okay and we can check that by typing AT + BIND? And you can see it spits back the address with the colons reinserted instead of the commas which means we're all set to pair the two devices. If you have an extra arduino handy you can test this connection by plugging them both in.
HC-05 Master Vs Slave -
You just need to make a couple changes to the wiring configuration. For both modules you want to plug RX into TX and TX into RX and get rid of the wire connecting the EN pin to the 3.3 volt pin on the arduino. With both arduino powered on you will see that the two modules enter into their third state which is their paired state and that in denoted by a synchronous blink between the two modules. That's it for today, I hope it worked out for you.