Topic: How to control servo motor using Arduino and L293d motor driver

What is Servo Motor?
Servo is one type of dc motor having some extra functionalities compare to a normal dc motor. Servo motor comes with an inbuilt gear box which provides high torque in the output shaft. There is a small circuit present inside a servo motor which is responsible for the rotation of servo motor. This circuit also include a potentiometer which restrict the movement of servo motor from 0 to 180 degree. Servo motors are widely used in different projects. Servo motor is easy to use. By using servo motor we can simplify the complex circuit in several projects.
What is a servo motor used for?
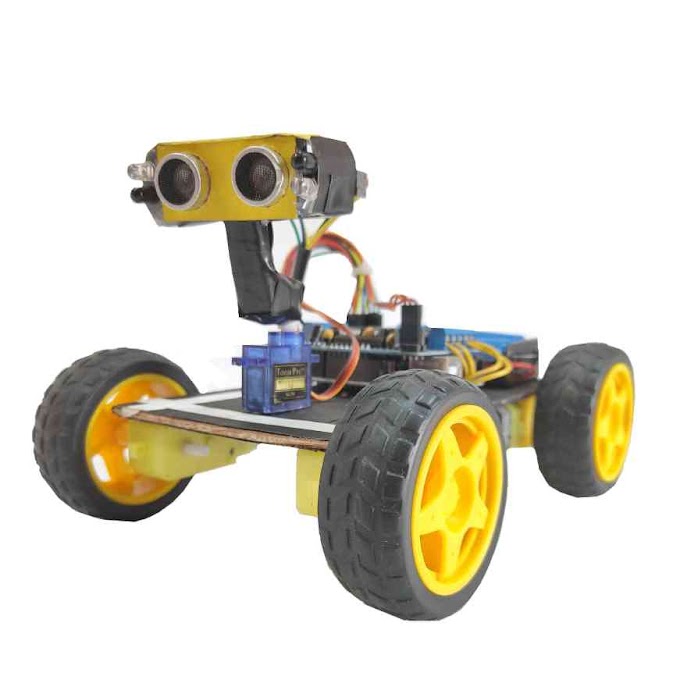
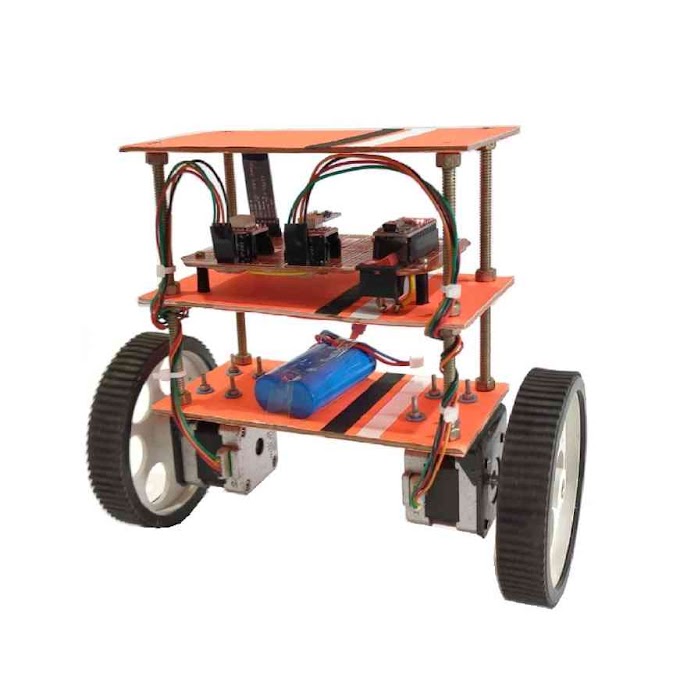
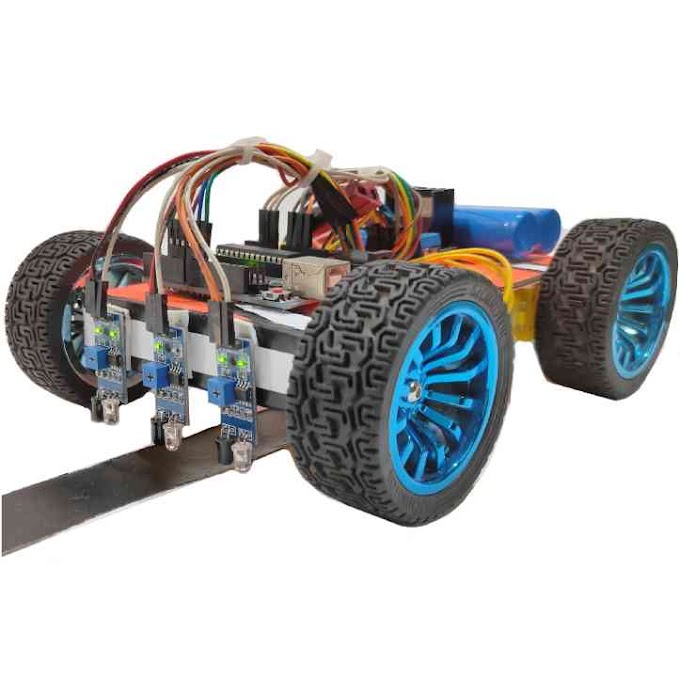
Servo motors has a wide range of application in many fields. Servo motor is mostly used in robotics industries. You can see the application of servo motors in “robotics arm” and “humanoid robot”. Also you can use the servo motors in cnc machines and robot car.
What is the difference between servo motor and normal motor?
The main difference between a servo motor and a normal dc motor is the mode of operation. A normal dc motor is supplied with two wire connection where the servo motor is supplied with three wire connection. A normal dc motor is free to move in 360 degree. But the servo motor can rotate only from 0 to 180 degree. You can operate the servo motor in a specific angle. But you can’t operate the dc motor for a specific angle.
How do you control servo rotation?
It is very easy to control the servo motors by controlling its rotation. We can control the rotation of servo motor manually or by using some microcontroller like arduino. A servo motor is working in the principal of angular rotation. The area of operation of a servo motor is 180 degree. We can implement some codes to control the servo motor for a specific rotation.

Can arduino run servo motors?
Arduino can be used to run the servo motors. By using the arduino we can run multiple servo motors at a time. We can control the speed and direction of rotation in a servo motor by implementing the code in arduino.
How to control servo motor using arduino and l293d motor driver?
As discussed earlier, servo motors can be operated with arduino. To make it more easier and simple we can use an additional motor driver with arduino. In this project we are using the arduino uno to control the servo motor. Also we are using l293d motor driver shield in this project. The main advantage of l293d motor driver shield is the pin diagram which is similar to arduino uno. This motor driver is smoothly fixed over the arduino uno and reduced the complexity of the circuit. In this post I will mention all the important steps in details. Also I will explain the code and circuit connection for better understanding.
Components required to control the servo –
The components which are required to control the servo is arduino uno, l293d motor driver shield, jumper wires and battery. For practice we use the servo sg90 motor. Now take a look at the steps one by one.
Circuit Connection –
To design the circuit I used arduino uno and l293d motor driver shield. At first I take the l293d motor driver shield and then I put it over the arduino uno. There are two inbuilt port for servo motor in l293d motor driver shield. By using this ports we can easily connect the servo in l293d motor driver shield. We can connect maximum two servo motors in a l293d motor driver shield. For best practice I connect two servo sg90 motors in l293d motor driver shield. Then I connect the rotating arms in the servo sg90 motors for observe the movement. After connecting the rotating arms, I marked the initial point of the rotating arm with a marker. Now it will be more clear to understand the speed of rotation and the direction of rotation in the servo sg90 motor. This is all about the circuit connection. The next thing is to do the coding in arduino.

Arduino Code –
To control the servo digitally we need to write down the code in arduino. At first you have to connect the arduino in your computer by using a usb cable. Then you have to open the Arduino IDE software. Here you have to write down the necessary code for controlling the servo motor. At the beginning you have to include the library for the servo motor. Then you have to declare the servo pins. After this you have to setup the servo pins as output in the void setup section. In the void loop section you have to write down the digital commands to control the servo. In this section you have to put the digital write command followed by a integer value. This integer value indicates the angular rotation of the servo motor. After this you can use the delay commands to make some delay in servo rotation. This delay command will hold the current angular position of servo motor for a given time. You can also add some extra functionalities in the code according to your need. The sample code is given below for better understanding.
// Servo Motor Control Code#include <AFMotor.h>
#include <Servo.h>Servo my_servo1;
Servo my_servo2;
void setup() {
my_servo1.attach(9);
my_servo2.attach(10);
}
void loop() {
my_servo1.write(180);
my_servo2.write(180);
delay(2000);
my_servo1.write(0);
my_servo2.write(0);
delay(2000);
}
Now you have to visit the tools section. Then you have to select the port and the arduino type. Now compile the code in Arduino IDE software. Lastly upload the code in arduino uno. After successfully uploading the code, the servo motors will start rotating.

If you are using small servo motors like “servo sg90” then there is no need to connect a separate battery supply. If you are using big servo motors, then you have to put a separate power supply to run the servo. Most of the servo motors are operated in between 5 to 24 volt. The rotating torque varies in every servo and it is dependent on the gear arrangement of the servo motor. You have to choose the servo motor according to the torque required in the project.