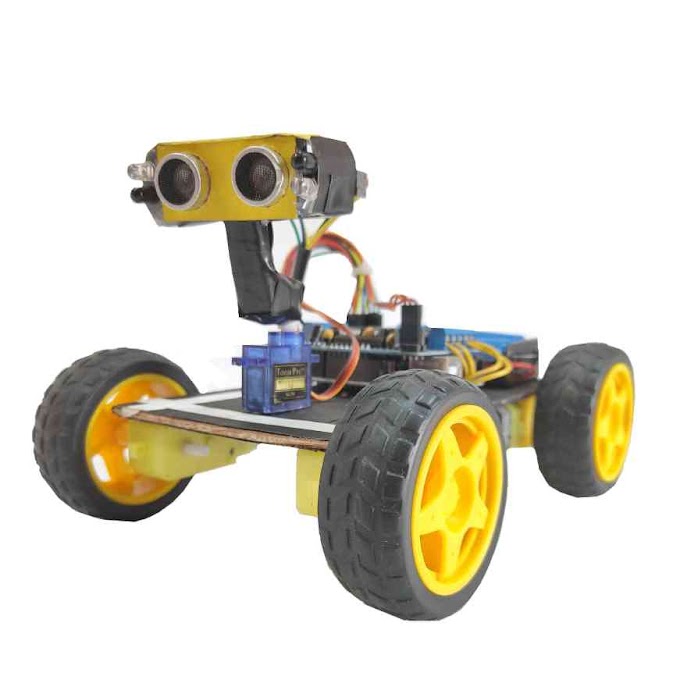
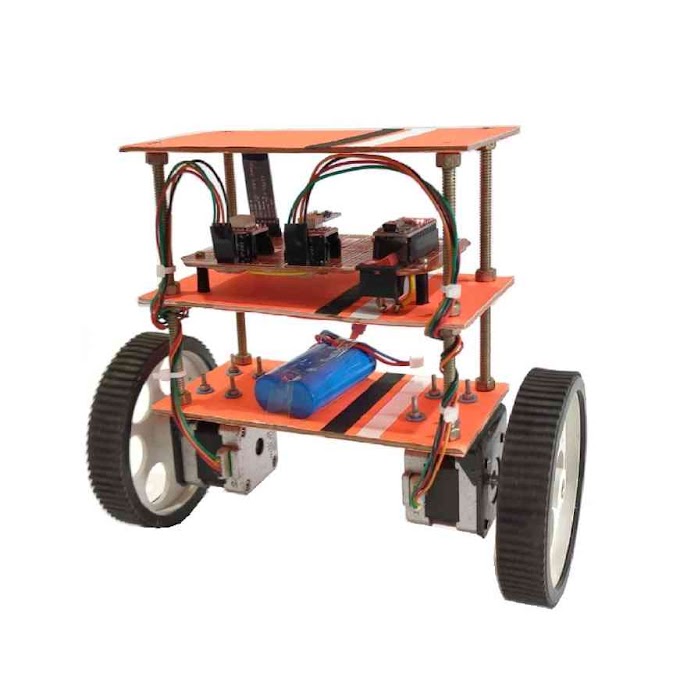
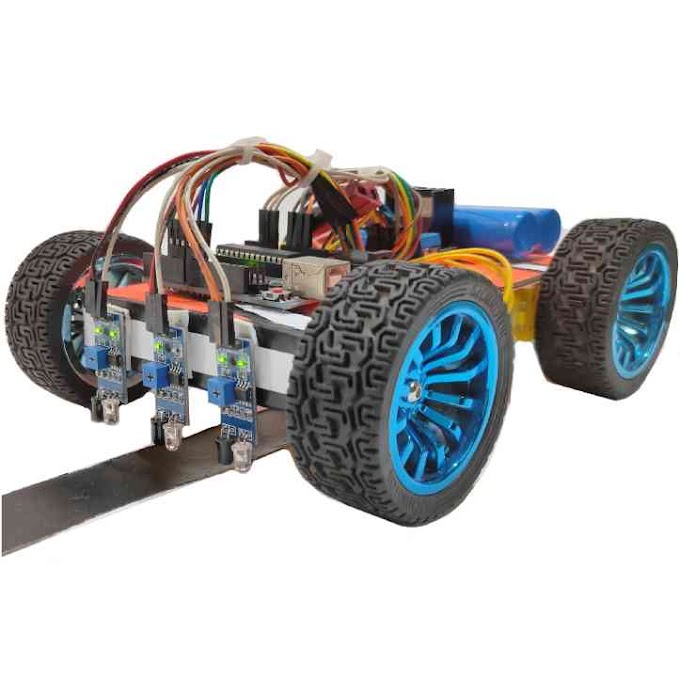
A Bluetooth
controlled car is a simple example of Arduino project. We can easily make a Bluetooth
controlled car using L293D motor driver by following some simple steps. In this
post I will show you some basic steps for making a Bluetooth controlled car
using Arduino and L293D motor driver. The components which are required to make
this Arduino car is listed below.
Components –
- Arduino Uno
- L293D Motor Driver
- Bluetooth Module HC-05
- DC Geared Motor
- Wheels
- 7.4 Volt Lipo Battery
In this
project we use the micro controller Arduino uno as the main functioning and
controlling block of the car. Arduino can take the analog input signal from the
user and then it sends the digital data to the motor driver of the car. For
this project we use the L293D motor driver. This motor driver can run four dc
motors at the same time. It can be easily mounted on Arduino uno. Because of
this no extra wiring is needed. The motor driver further command the motors to
rotate. And this is how an Arduino car works. In a Bluetooth controlled car a Bluetooth
module is connected to the Arduino to receive the data from the user. In serial
communication we often use the Bluetooth module hc-05. This Bluetooth module is
easy to use and can easily available in the market. Now take a look to the
steps which are required to make this Bluetooth car.
Basic Structure –
First of
all take a dc geared motor and soldier the wires in the both terminal of the
motor. Repeat the same process for the other three dc geared motors.
After soldiering
the wires you have to take a wooden board having a length of 7 inch and width
of 5 inch. In this wooden board you have to fix all the dc geared motor. You
can use some glue to fix the dc geared motor at the wooden board. After fixing
the dc motors in the wooden board you have to fix the wheels in the shaft of
the dc motors. Here the basic structure for your car is ready.
Circuit Connection –
Now you
have to make the circuit for your car. For this we need three major components
which are Arduino uno, L293d motor driver and Bluetooth module hc-05. Firstly
take the Arduino uno and then fix it on the middle of the car. After this take
the L293d motor driver and mount it over the Arduino uno. Now the next thing is
to connect the dc motors with your motor driver. Take the dc motors one by one
and connect it with the motor driver.
After connecting all the motors take the Bluetooth
module hc-05 and connect it with the Arduino uno. Connect the VCC pin of the Bluetooth
module with the +5 Volt pin of motor driver. Then connect the ground pin of the
Bluetooth module with the ground pin of motor driver. Now connect the RX pin of
Bluetooth module with the TX pin of Arduino uno. Again connect the TX pin of Bluetooth
module with the RX pin of Arduino uno.
Lastly we have to give the supply to the
circuit. Here we use a 7.4 volt lipo battery to provide the power supply in the
circuit. Now your circuit connection is completed. Here is the circuit that we
make -
Coding –
The next
thing that you have to do is coding. Connect the Arduino uno with your
computer. Now write down the command and instructions in the code. For the
better understanding we are providing the code here –
//Bluetooth Controlled Car
#include <AFMotor.h>
//initial motors pin
AF_DCMotor motor1(1, MOTOR12_1KHZ);
AF_DCMotor motor2(2, MOTOR12_1KHZ);
AF_DCMotor motor3(3, MOTOR34_1KHZ);
AF_DCMotor motor4(4, MOTOR34_1KHZ);
char command;
void setup() {
Serial.begin(9600); //Set the baud rate to your Bluetooth module.
}void loop(){
if(Serial.available() > 0){
command = Serial.read();
Stop(); //initialize with motors stoped
//Change pin mode only if new command is different from previous.
//Serial.println(command);
switch(command){
case 'F':
forward();
break;
case 'B':
back();
break;
case 'L':
left();
break;
case 'R':
right();
break;
}
}
}void forward(){
motor1.setSpeed(255); //Define maximum velocity
motor1.run(FORWARD); //rotate the motor clockwise
motor2.setSpeed(255); //Define maximum velocity
motor2.run(FORWARD); //rotate the motor clockwise
motor3.setSpeed(255);//Define maximum velocity
motor3.run(FORWARD); //rotate the motor clockwise
motor4.setSpeed(255);//Define maximum velocity
motor4.run(FORWARD); //rotate the motor clockwise
}void back(){
motor1.setSpeed(255); //Define maximum velocity
motor1.run(BACKWARD); //rotate the motor anti-clockwise
motor2.setSpeed(255); //Define maximum velocity
motor2.run(BACKWARD); //rotate the motor anti-clockwise
motor3.setSpeed(255); //Define maximum velocity
motor3.run(BACKWARD); //rotate the motor anti-clockwise
motor4.setSpeed(255); //Define maximum velocity
motor4.run(BACKWARD); //rotate the motor anti-clockwise
}void left(){
motor1.setSpeed(255); //Define maximum velocity
motor1.run(BACKWARD); //rotate the motor anti-clockwise
motor2.setSpeed(255); //Define maximum velocity
motor2.run(BACKWARD); //rotate the motor anti-clockwise
motor3.setSpeed(255); //Define maximum velocity
motor3.run(FORWARD); //rotate the motor clockwise
motor4.setSpeed(255); //Define maximum velocity
motor4.run(FORWARD); //rotate the motor clockwise
}void right(){
motor1.setSpeed(255); //Define maximum velocity
motor1.run(FORWARD); //rotate the motor clockwise
motor2.setSpeed(255); //Define maximum velocity
motor2.run(FORWARD); //rotate the motor clockwise
motor3.setSpeed(255); //Define maximum velocity
motor3.run(BACKWARD); //rotate the motor anti-clockwise
motor4.setSpeed(255); //Define maximum velocity
motor4.run(BACKWARD); //rotate the motor anti-clockwise
} void Stop(){
motor1.setSpeed(0); //Define minimum velocity
motor1.run(RELEASE); //stop the motor when release the button
motor2.setSpeed(0); //Define minimum velocity
motor2.run(RELEASE); //rotate the motor clockwise
motor3.setSpeed(0); //Define minimum velocity
motor3.run(RELEASE); //stop the motor when release the button
motor4.setSpeed(0); //Define minimum velocity
motor4.run(RELEASE); //stop the motor when release the button
}
After write
down the code go to the tools and select the board type and port. Before
uploading the code remove the RX and TX pin of Bluetooth module from the
arduino uno. If you have connected the pins mistakenly the code will not
uploaded to your arduino. Now upload the code to the arduino.
Application Setup –
Finally
take your smartphone and open the Google play store. From here you have to
download an application named “Bluetooth RC”. Now open the application. Then go
to the settings of the application.
There you will find an option like “connect
to car”. Click this option to connect the Bluetooth with your car. Then choose
the Bluetooth name. Then pair the Bluetooth by providing the correct password. Once
everything is done give the command from the application and run the car.
So this are
the four easy steps for making a Bluetooth controlled car using L293d motor
driver and Arduino uno. If you follow this steps you can also able to make your
own Arduino car.


